WK 03: Cross Polarization Workflow
Welcome to week three! Last week I focused on getting better camera settings to create better scans, and this week I wanted to try using polarized filters on my camera lens and ring flash. Using a polarized filter on both my camera and light source will help me achieve cross polarization, which allows to get a true albedo map of my subject.
Scanning
When scanning the piggybank, I set the ring flash to 1/4 power and adjusted the aperture, ISO, and shutter speed. Unfortunately it seems that if I try to take continuous photos of the object at 1/2 power the ring flash will turn off every three takes. I have not figured out how to prevent this from happening, but my guess is that the heat is too much which is why I can set it to continuous at 1/2 power. So for now, this is my workflow:
Apply the polarized film to the camera lens and ring flash. I 3d printed out a ring flash mount from this blog by Greg Zaal, cut out some polarized film to fit inside of it, and then mounted it on my light.
Set the position of the object on the turntable, and start at a zero degree angle on the camera.
Adjust the polarized film on the camera lens until you see that there are no reflections or glare on the object. As you turn the filter on the lens you should start to see a change.
Manually adjust the aperture, shutter speed, and lastly the ISO.
Manually set the focus to ensure that the image is sharp. If after adjusting the camera settings correctly and the display is too dark, I will temporarily adjust the ISO to a high value so that I can manually focus the camera, and then set the ISO back to its original value.
First photo needs to be an image of the object next to the color checker. After, I then take my first set of scans:

7. Adjust the camera again, each time I adjust the camera I will go up higher in 15 degree increments.
8. For each time I adjust the camera I will adjust the camera settings again. So I will adjust the aperture, shutter speed, ISO, then manually focus.
9. I will keep going up in increments of 15 degrees until I hit 60 degrees. Then I will flip over the object (if possible) and repeat the same process.
Once I completed these steps, I repeated the process again but this time without the polarized film in order try to get the roughness/specular map. I still need to figure out how to derive the roughness map from the photos I’ve taken, but with the cross polarized photos I now seem to have a true Albedo map.
Result
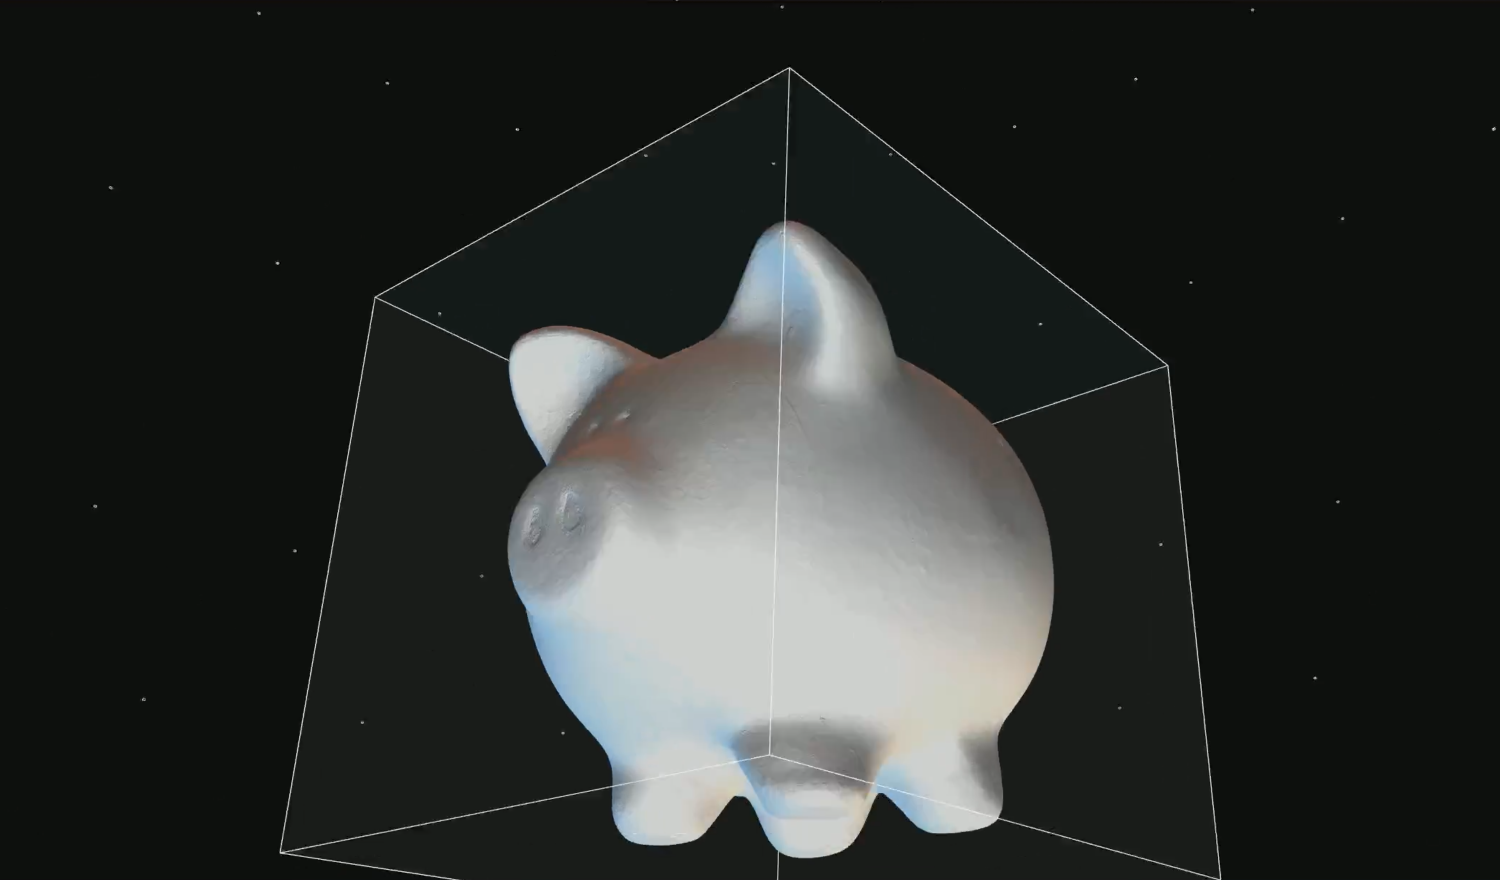
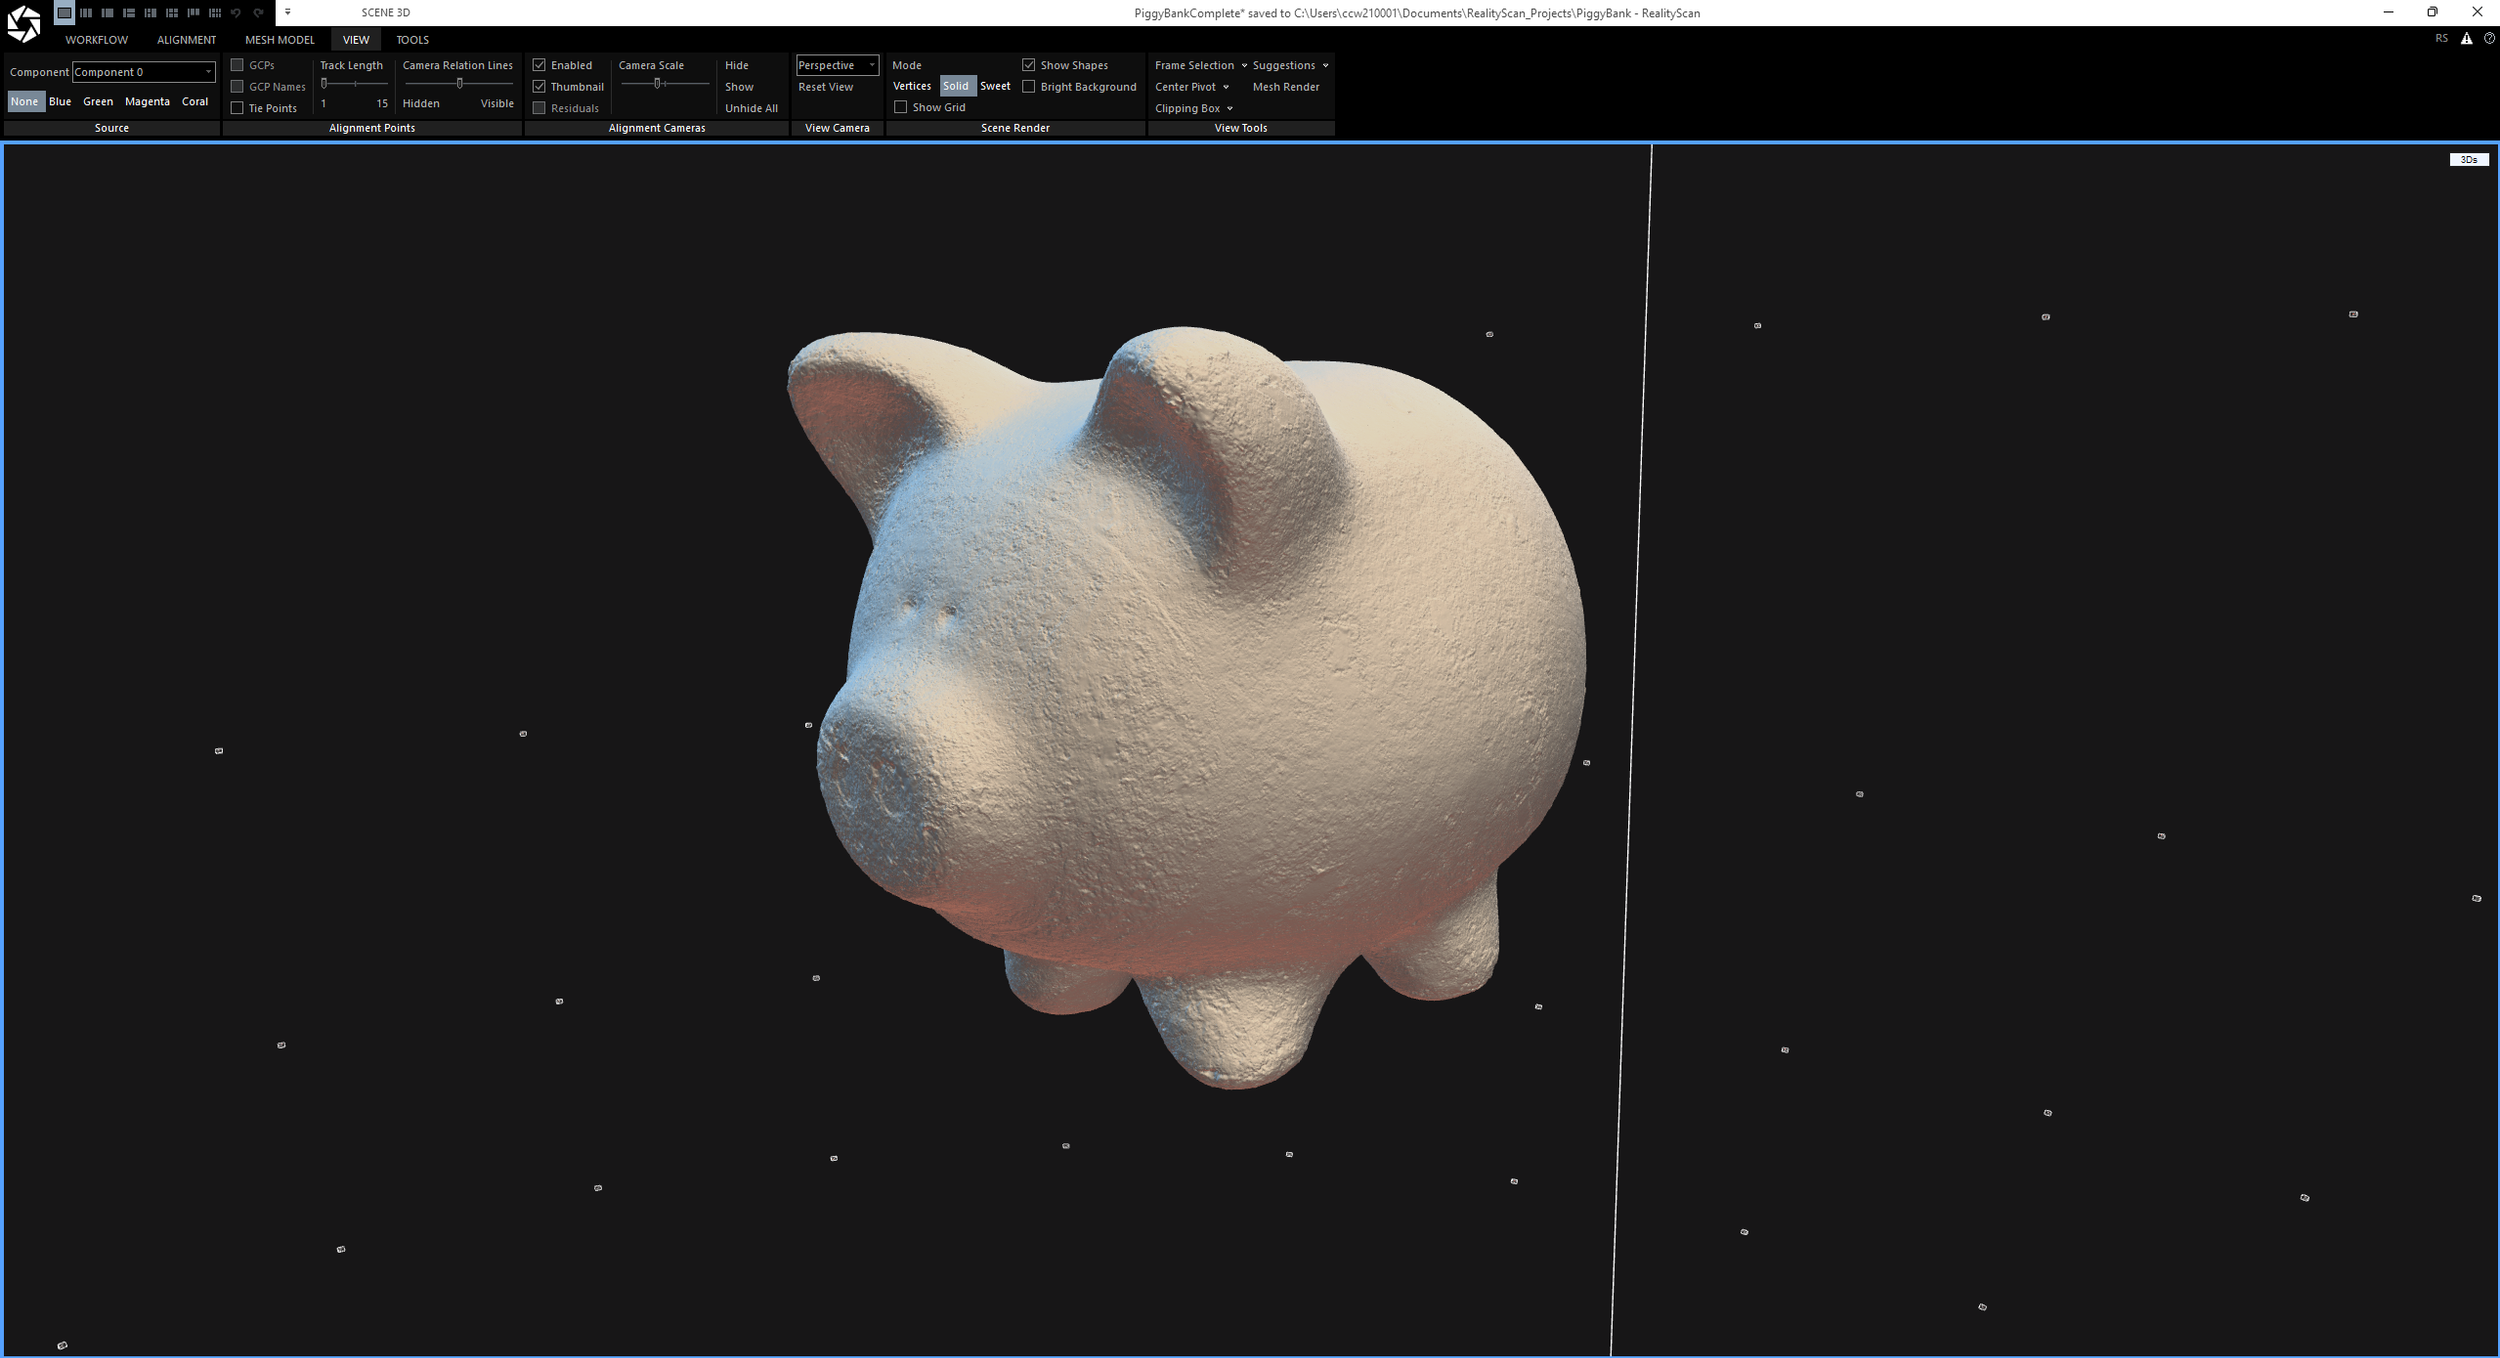
Here is the result of the cross polarized scan:
Piggybank Cross Polarized Scan In Maya
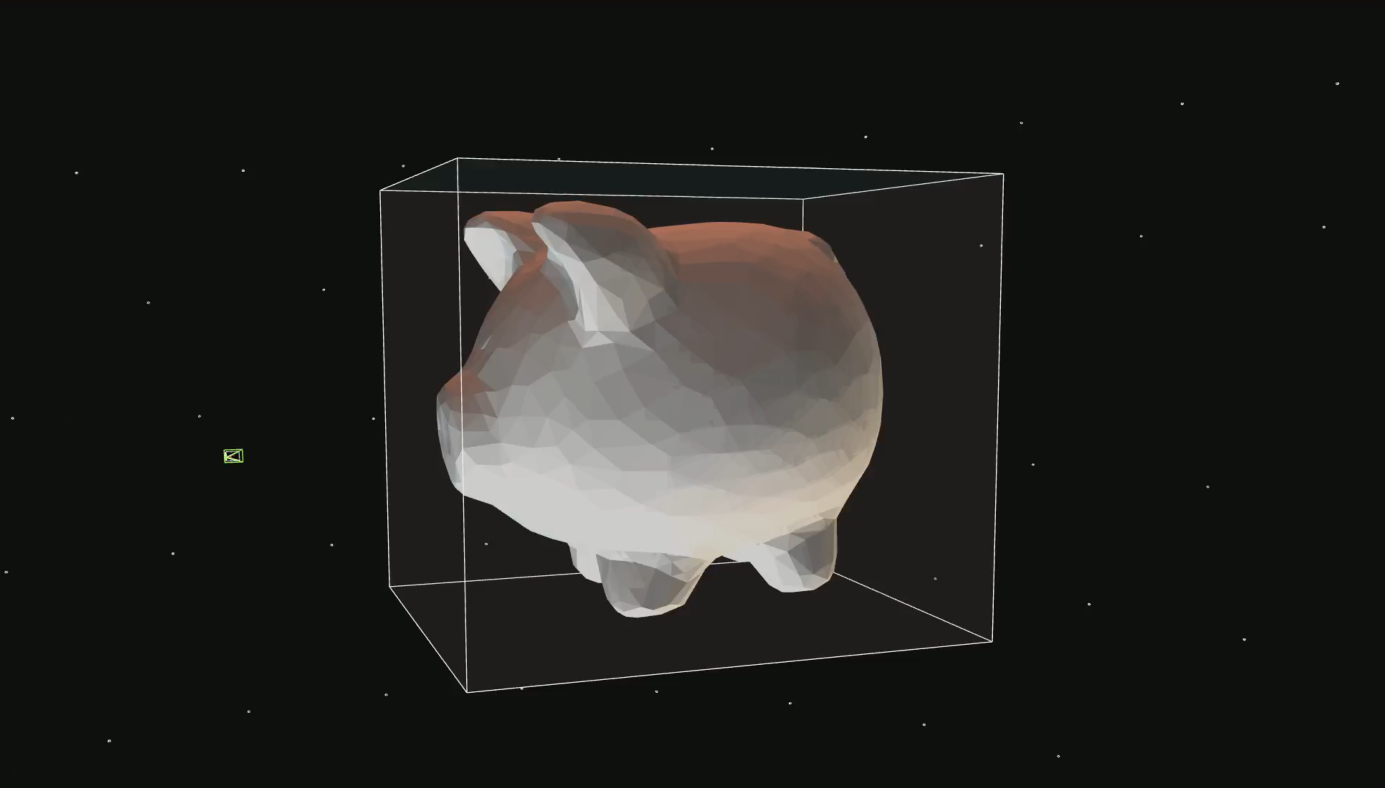
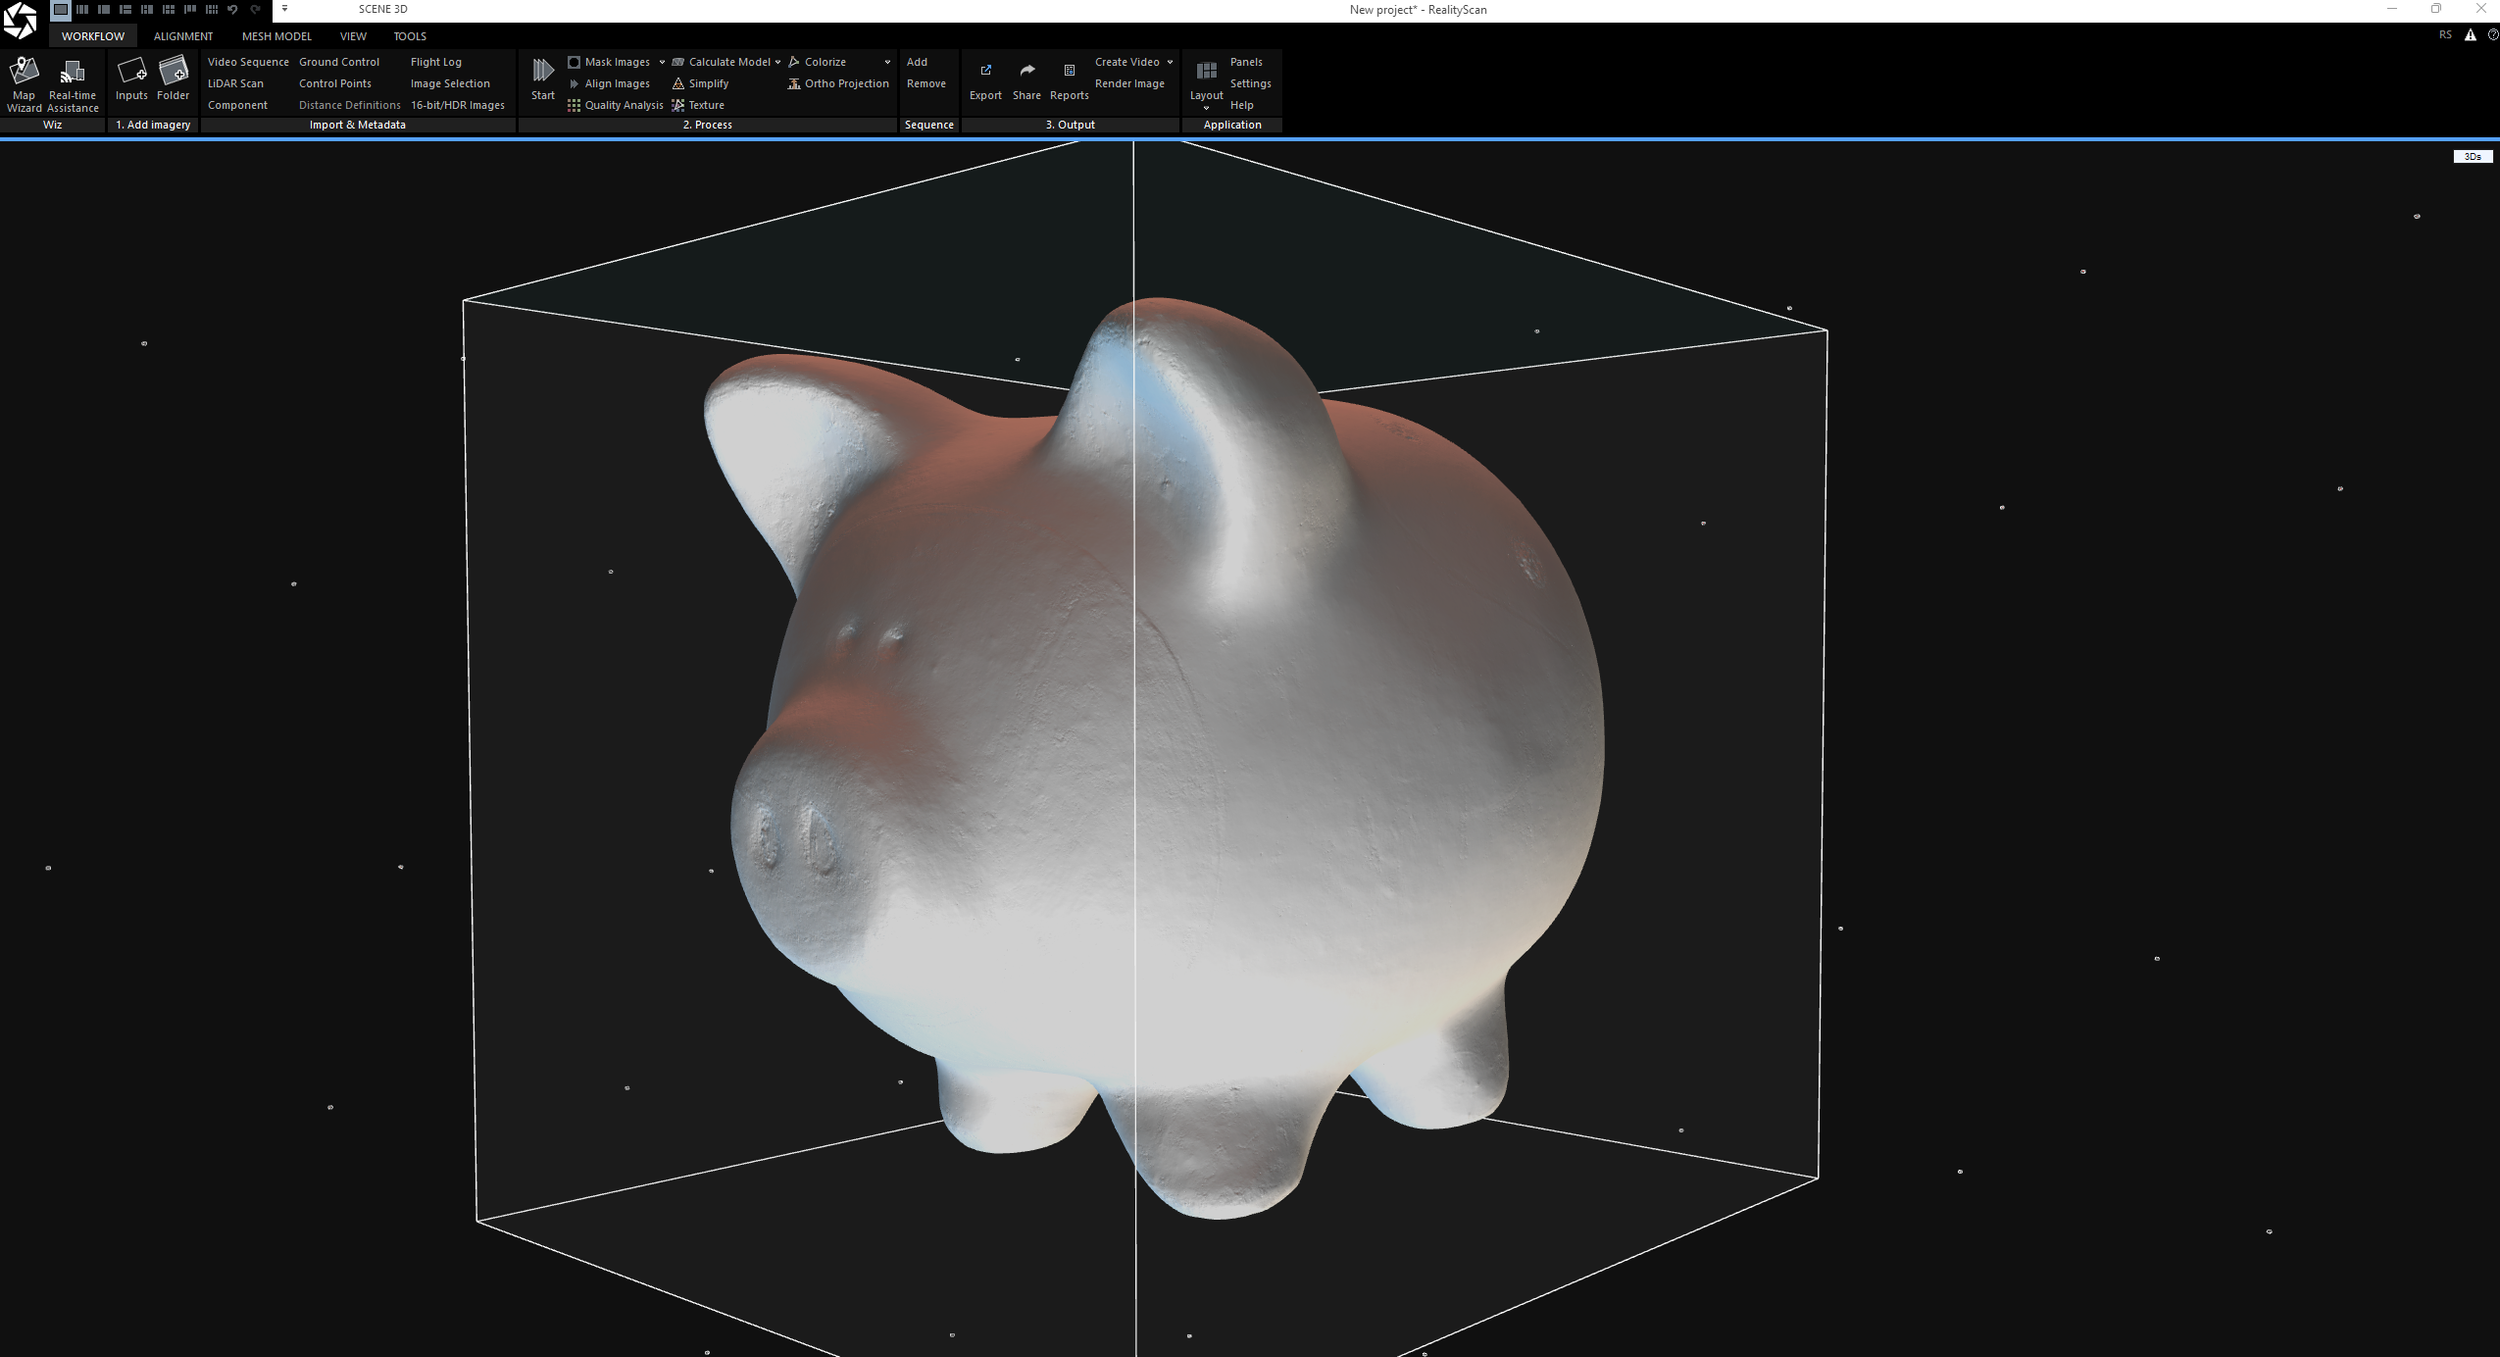
Simplify Tool
The next problem I wanted to tackle was how to reduce the amount tris on the piggybank. Online I discovered the reality scan happens to already have a tool that lets you specify how many tris you want the object to be! Below are the different tests I did at different poly counts:
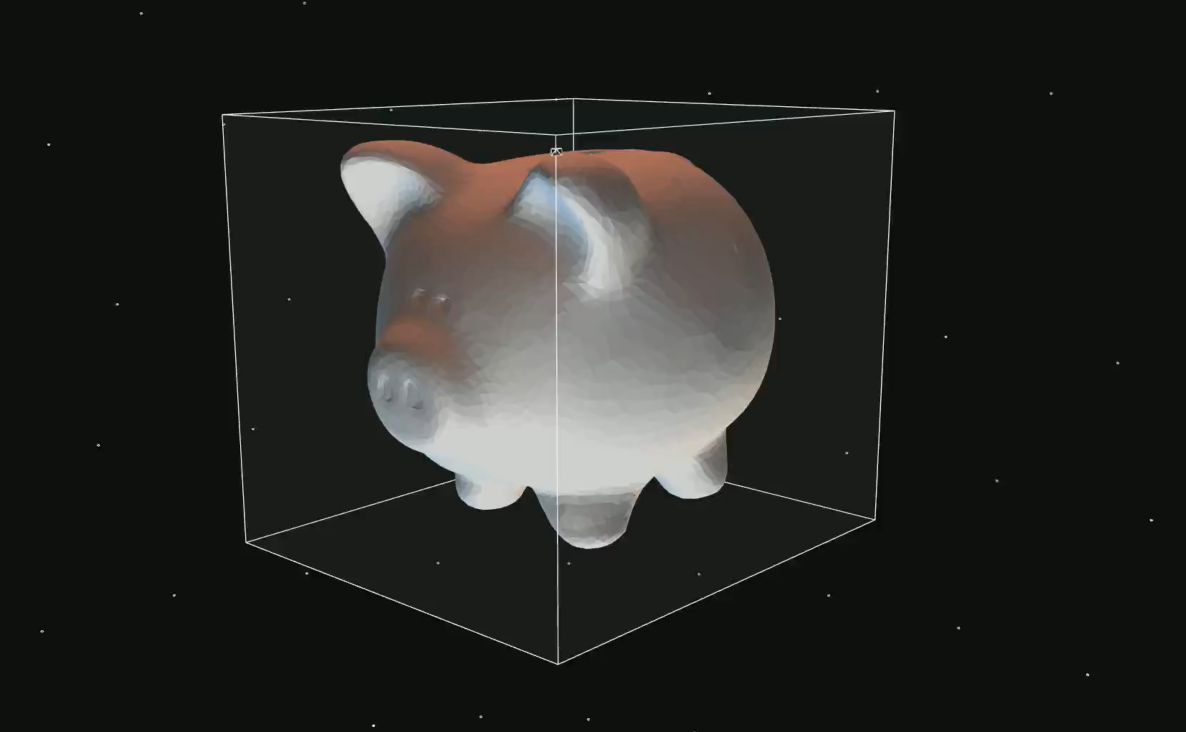
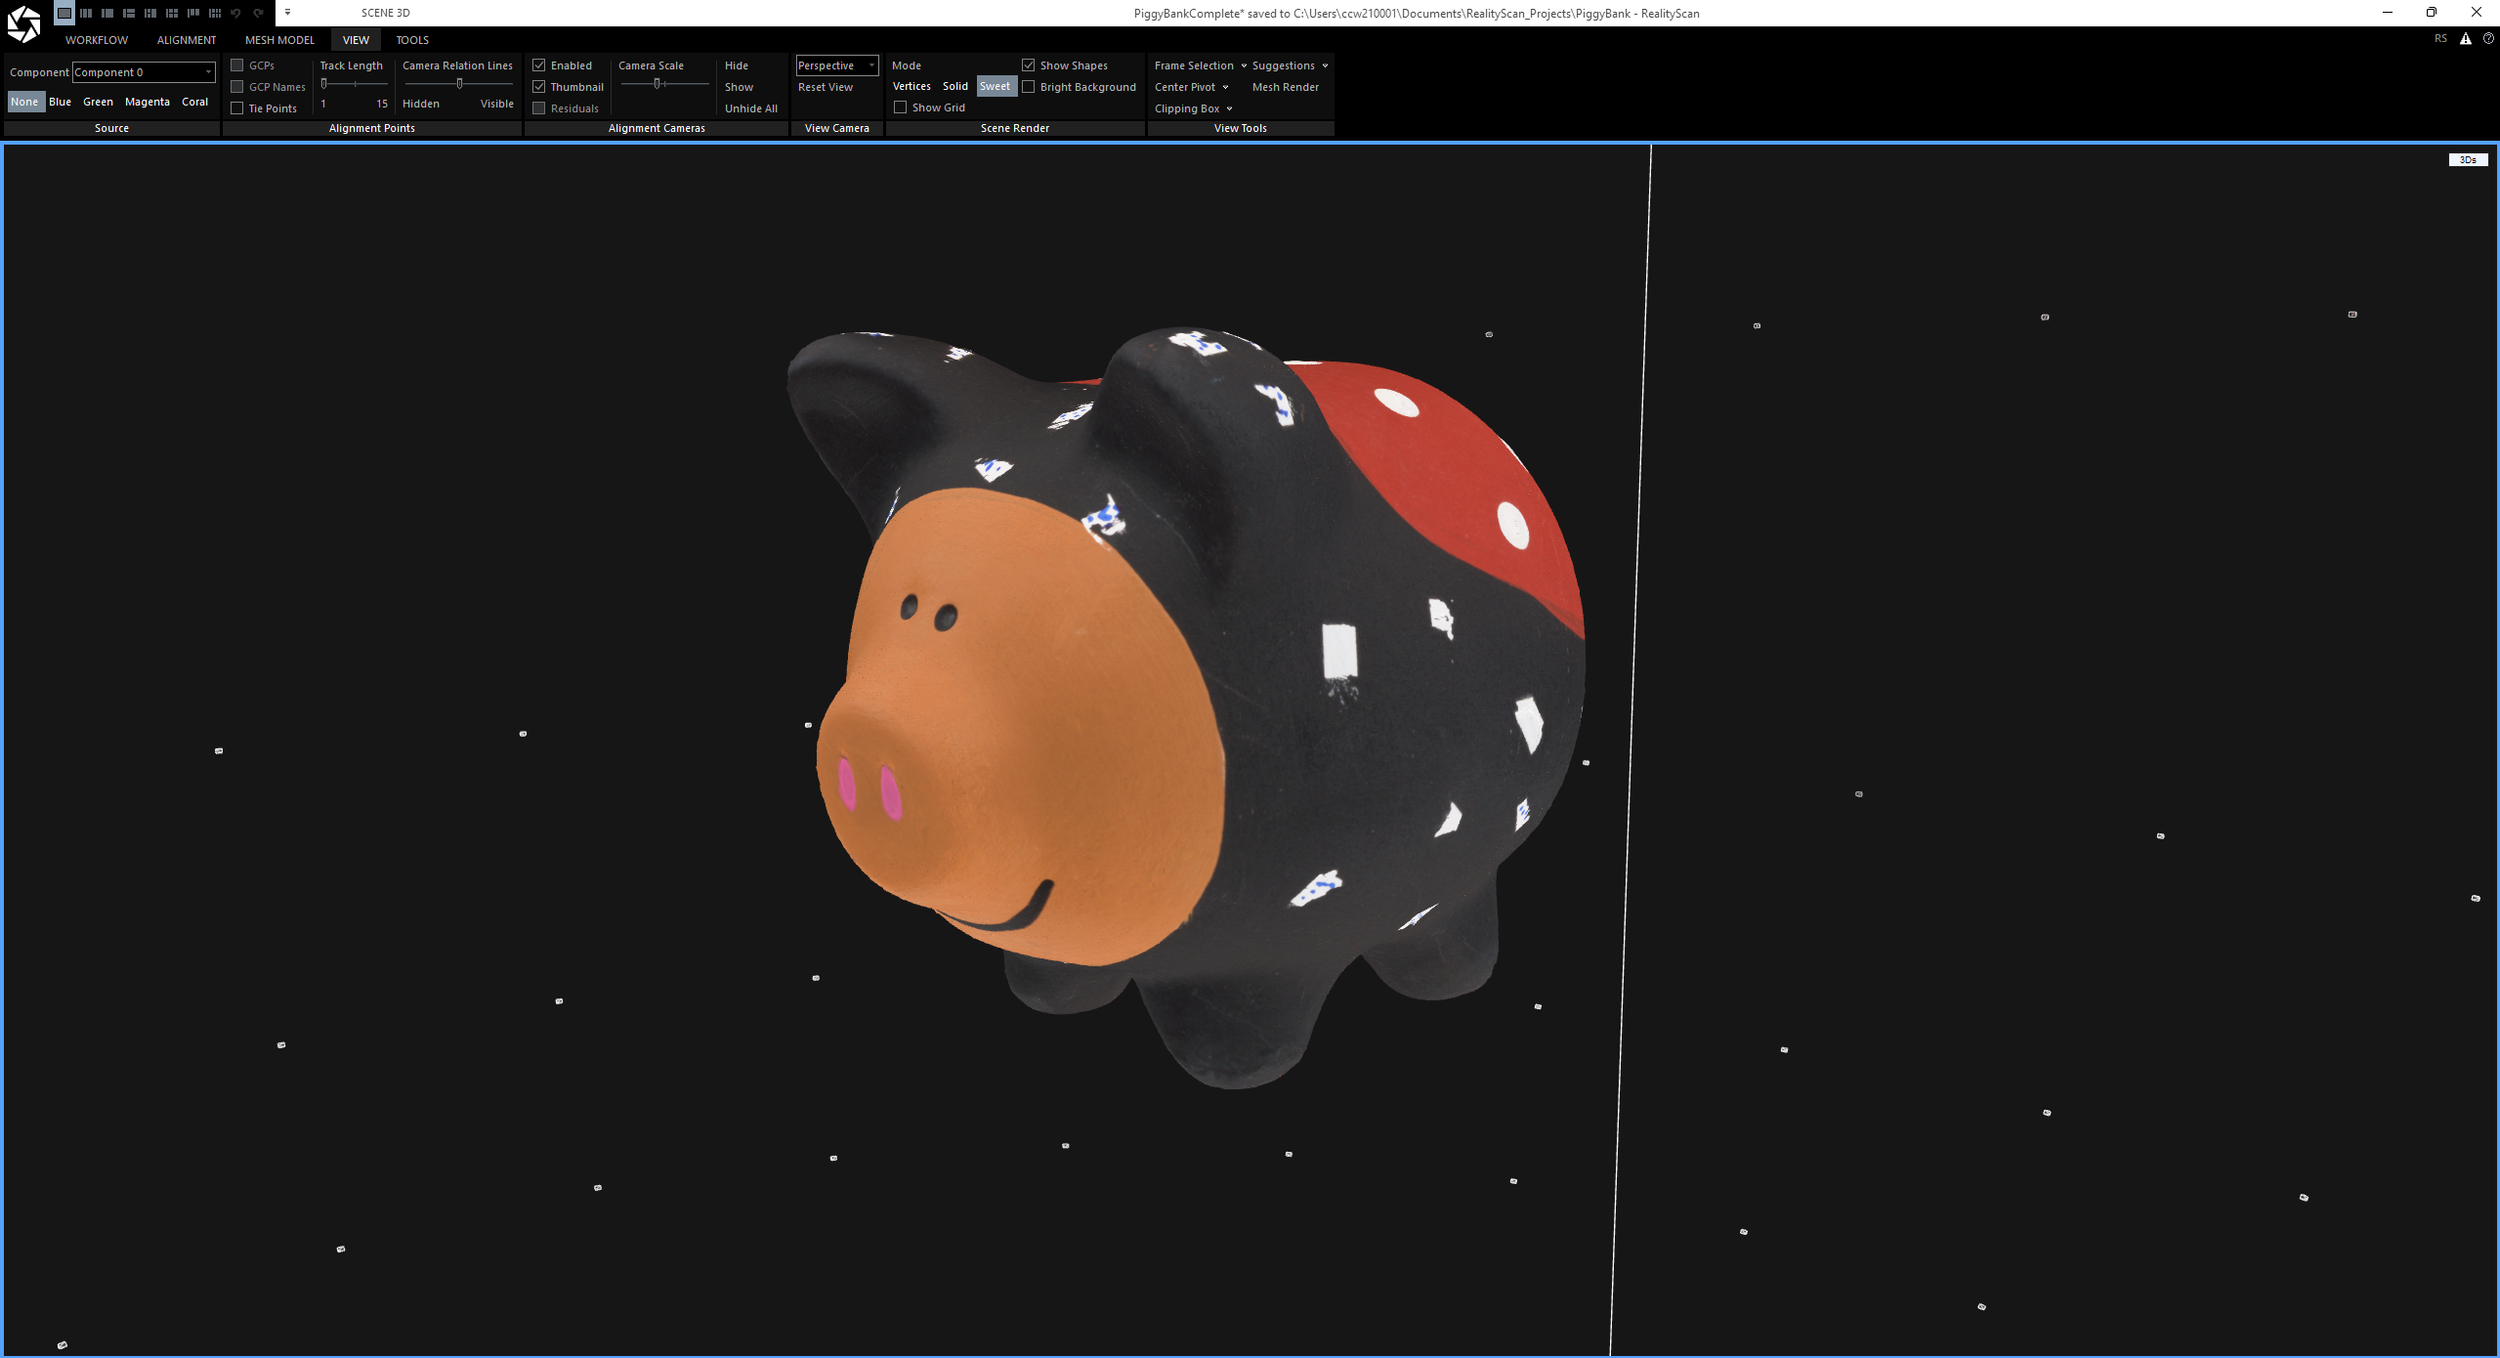
Cross Polarized vs Non Polarized
Here’s a comparison of how the piggybank looks after cross polarization vs before. I noticed that with cross polarization the piggybank is much smoother and more accurate details. It’s still not perfect, but it is much better compared to before.
Cross Polarized Results:
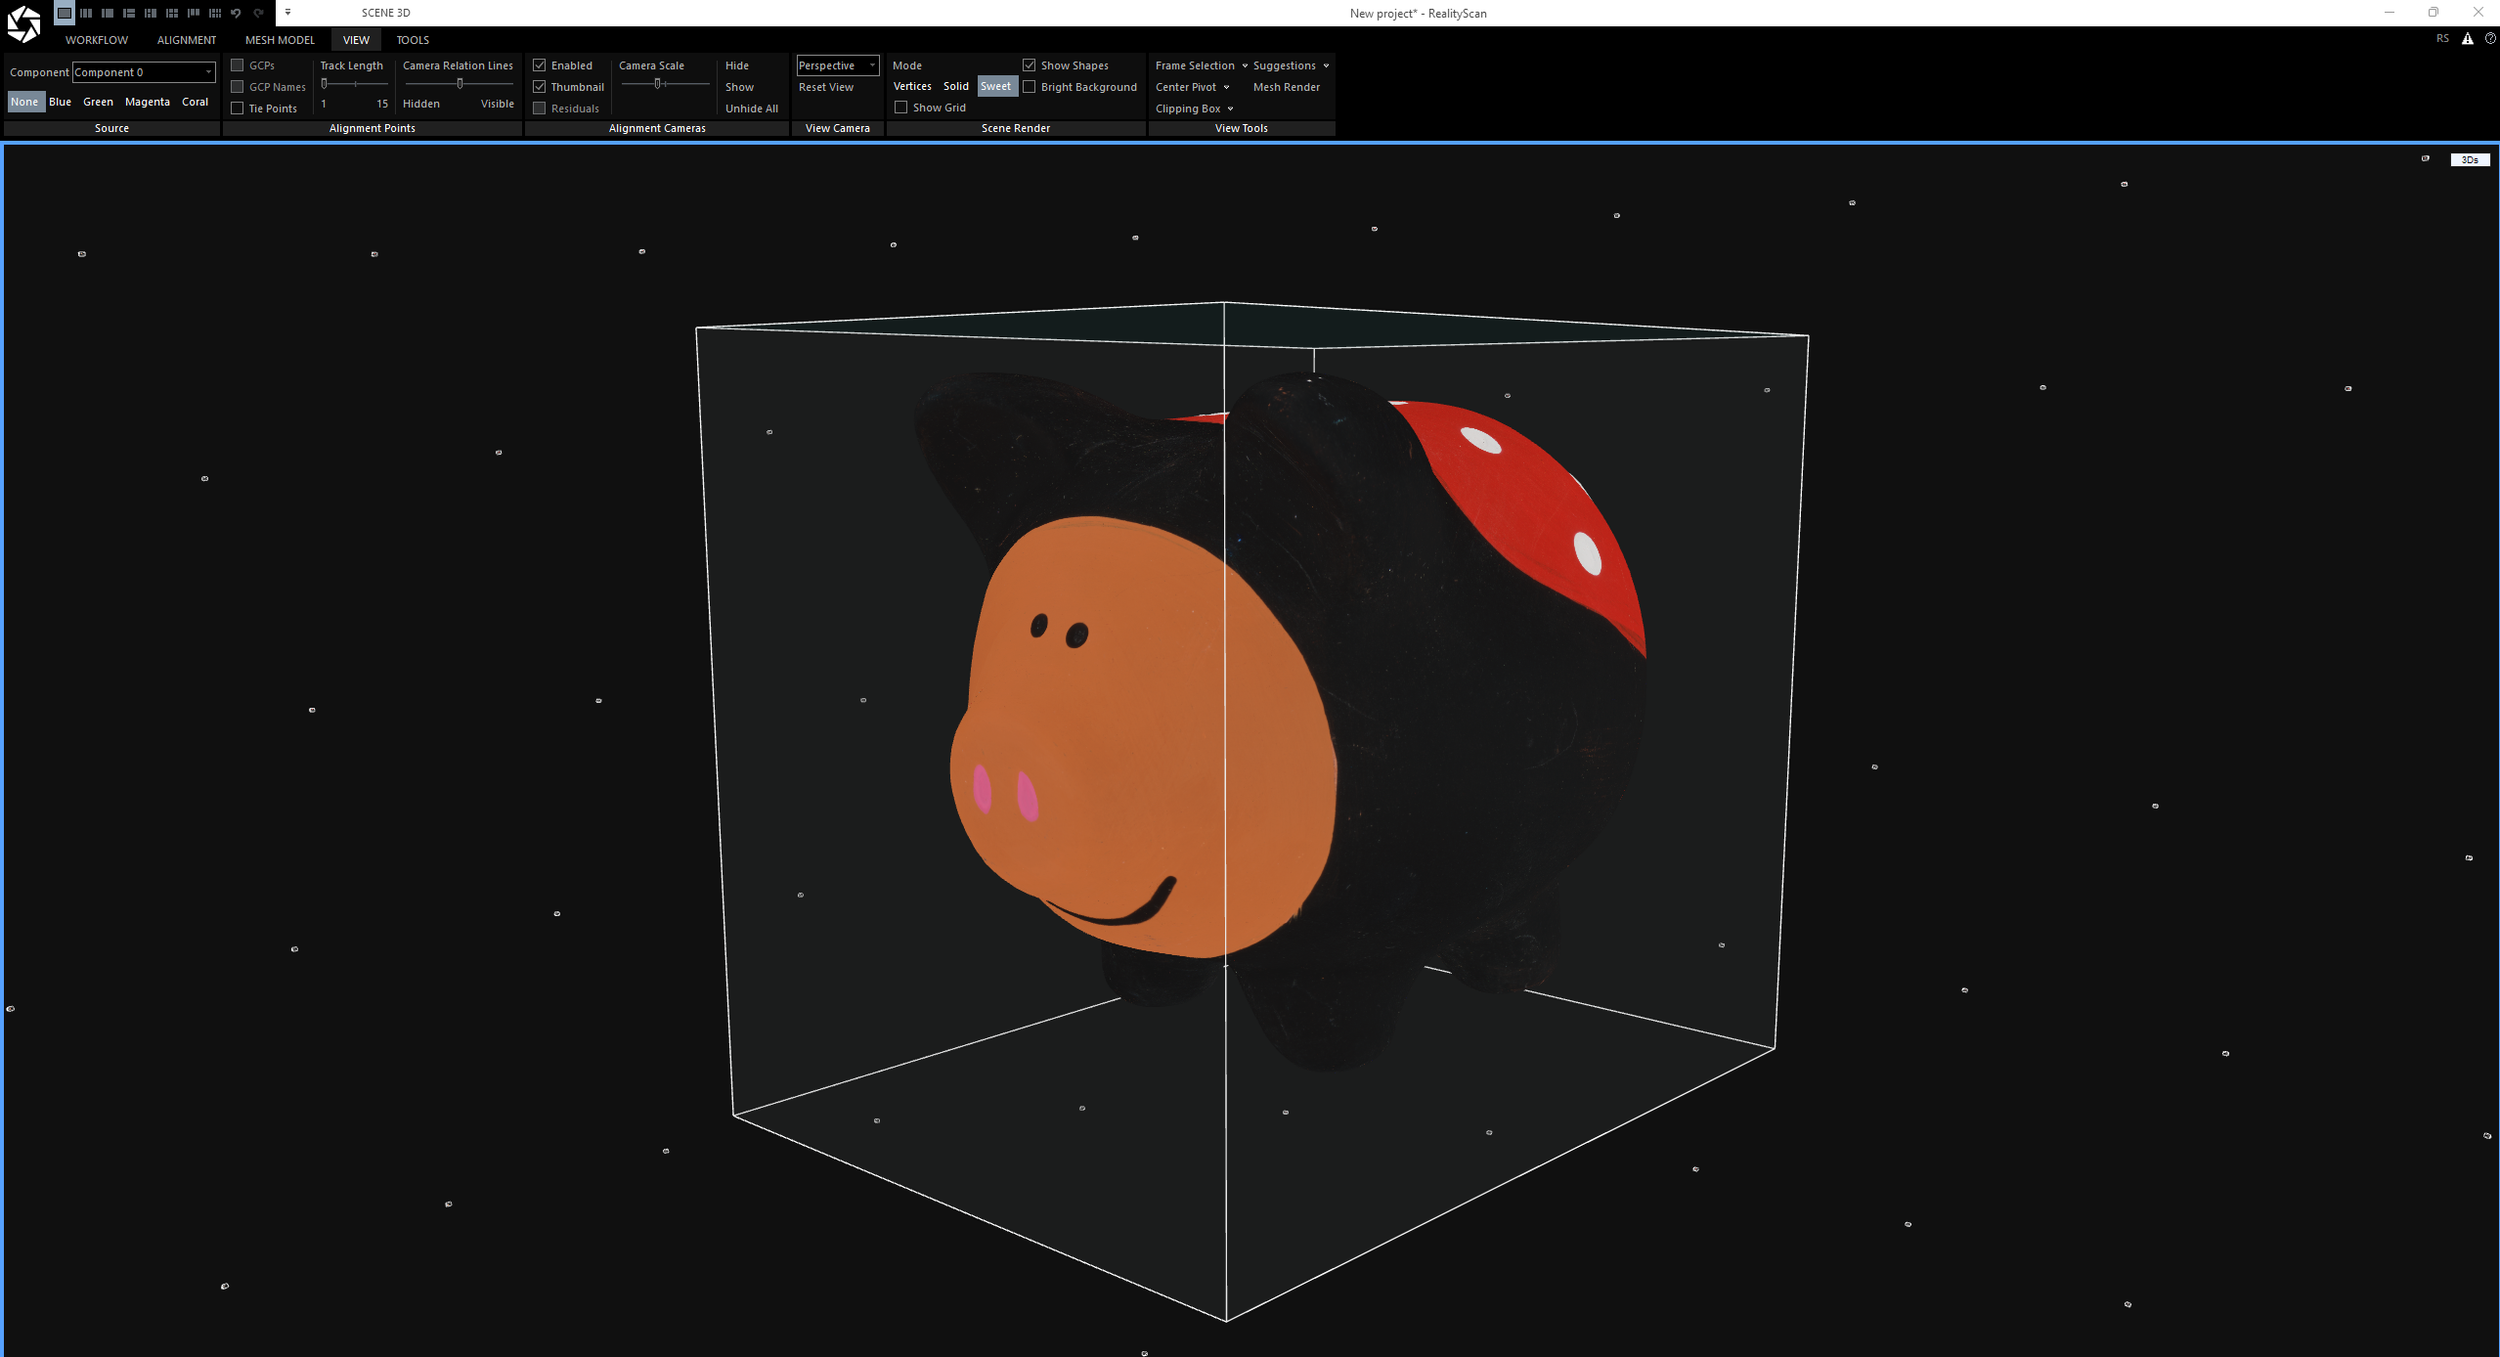
Non Polarized Results:
Next Steps
Now that I have a successful scan of the piggybank cross polarized, I want to figure out how to extract the roughness map from the set of normal pictures I took.